")
Tools Used
Substance Painter
3DS Max
Skills Utilized
Modeling
Overview
This was a learning experience focused towards texture painting inside of Substance Painter. This also serves as a example to unwrapping a model.
Description
There are two variations. My first variation (red & white colors) was a the actual first test inside of Substance Painter. Later on my first variation changed to (red & yellow colors), however the model was not properly unwrapped which is why there is the second variation (cloth brown color).
First variation of the white & red silk texture with zipper.
First variation with more paint detail.
First variation unwrap that was improper.
3DS Max view of the model when it was properly unwrapped.
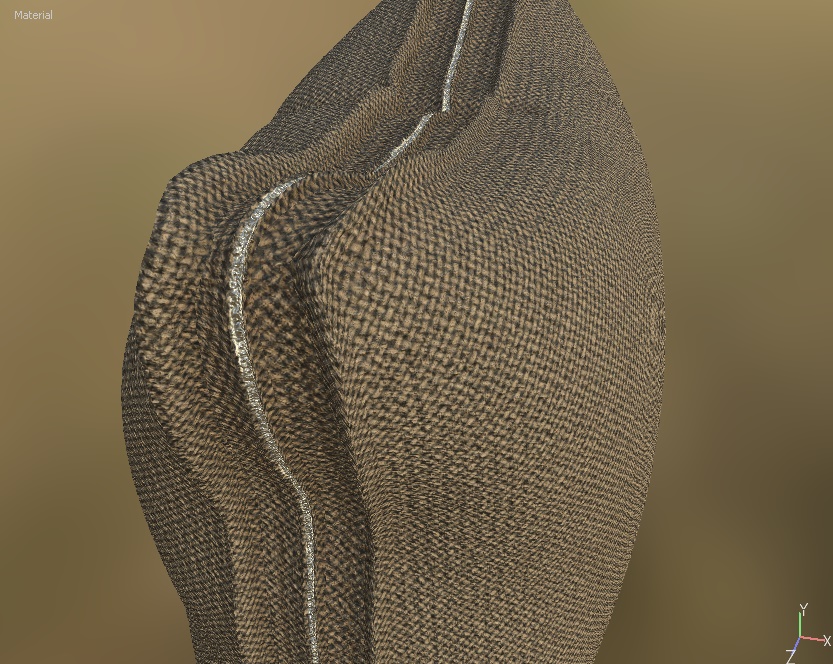
The second variation with proper unwrap and the brown weave paint.
The second variation with proper unwrap and the brown weave paint.
Second variations unwrap viewed inside Substance Painter.

")
")
")
")
")
")
")
")